


DIY Food Photography Backdrops and tips (get the pro look for 1/4 of the price)!
- Christal Marshall
- Apr 12, 2023
- 3 min read


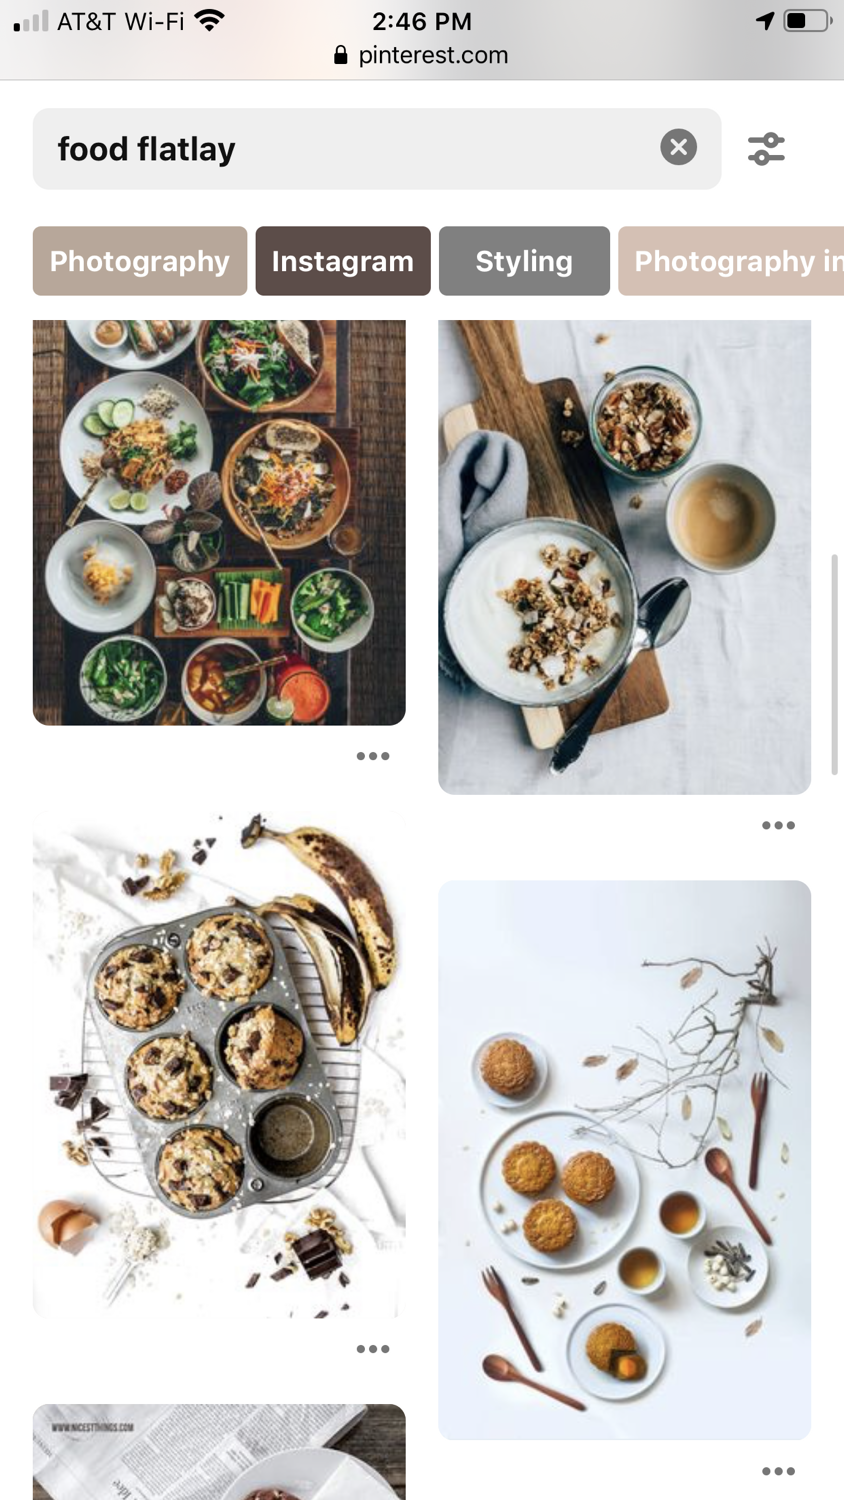
Ever been looking over through Pinterest or Instagram and see some amazing food photography?

You might be tempted to go to an online store that sells food photography backdrops like
Replica Surfaces but they sell their 2‘ x 2‘ textured squares for $80 apiece!
I was able to get four differen 4 feet textures for around $100!
You might be thinking that there’s no way that you can have your pictures look like that with your limited budget and only using your phone.
Well I’m here to tell you some of my favorite secrets to cheap DIY Photography using only natural light for my living room and some backdrops I got from the local hardware store.
.


The first thing you’re gonna do is go to your local hardware store like Lowes or Home Depot.
you’re then going to go to the paneling and molding section to find wainscot or back paneling use for kitchen walls. I usually get the 4 foot by 3 foot size.


then you’re gonna go to the flooring aisle and find the sticky vinyl planks that come in a box.
I love how easy the sticky ones are to place on the Wanescoating back as an additional texture.


Yes you read that right they were only 6 to 9 dollars depending on how many were in stock or what store you were looking at!
These are just some of my very favorite textures that you’re going to see in this blog post. I only used around nine or so panels and sometimes the store let you individually buy them instead of buying the entire box!


Then when you get everything home it’s time to stick them on the back of the wainscoting depending on what textures and what look you want. Since it’s a giant sticker it was super easy to put on! I had to use an X-Acto knife to cut it exactly with the wainscoting.


Make sure you were setting up your backdrop set during a time where light is coming in nice, big and soft! The living room in my house is the best lighting during the daytime so I used that.


You can always stand over your food and take a flatlay style shot which is very popular all over the internet!


Make sure you’re editing your photos with some free phone apps out there to give it that polished look!


The last tip: make sure that you are shooting in portrait mode on your phone if possible!
Because I didn’t have any food made when I got back from the store I just played around with these apples from my pantry to give you an example of the look that you can achieve with some simple equipment!
.
Wanna see some examples of what it would look like to shoot food in natural light using these surfaces?


I would love to see other ideas and how to save money and use DIY equipment to create beautiful images!


Christal Marshall is the owner of Virginia Photos and Films, www.virginiaphotosandfilms.com. Virginia Marketing and Media www.virginiamarketingandmedia.com and Virginia Beach Photobooth Company www.virginiabeachphotoboothcompany.com
She lives, breathes and does media and marketing pretty much 24-7 for over 14 local business through social media management, website design, photo, video or media coverage or graphic design.
She lives, breathes and does media and marketing pretty much 24-7 for over 14 local business through social media management, website design, photo, video or media coverage or graphic design.
She is a homeschool mom of three, cat lover, sushi eater and poke fan! She started her business in 2011 with nothing but a $400 camera from Amazon, now she is has been published in over 60 different blogs and websites for her media work and rank top Wedding Photographers in Virginia

Comments